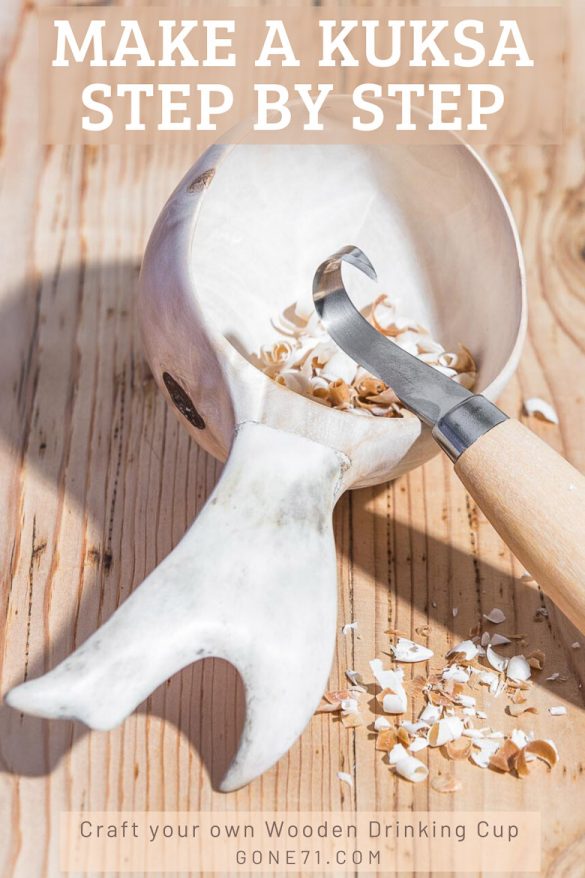
A Kuksa or Guksi (Finnish: kuksa; Swedish: kåsa) is a carved wooden drinking cup from the Sámi handicraft (duodji) in Northern Scandinavia and Finland. Kuksas can be found in all kind of shapes and materials nowadays. However, an original Kuksa is (painfully) handcarved from birch burl wood. Learn how to make your own only with handtools in this step by step guide.
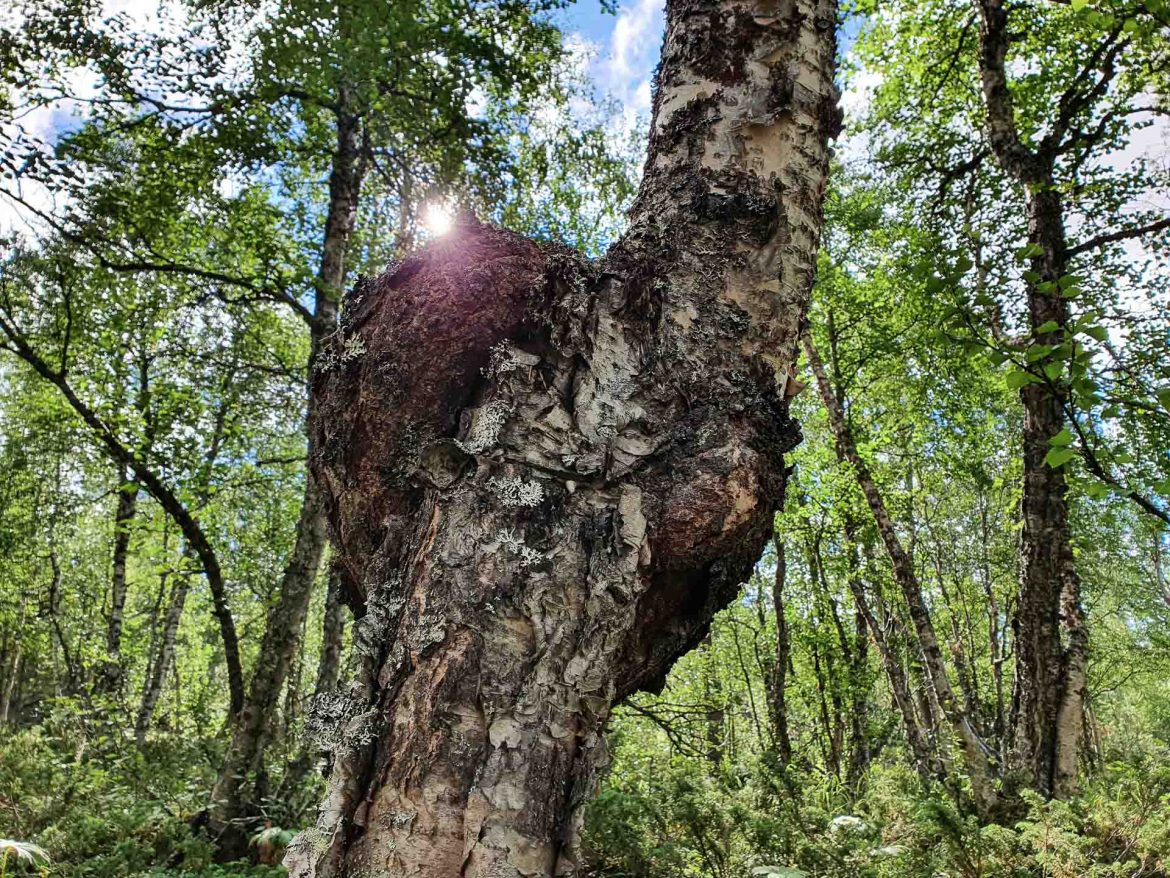
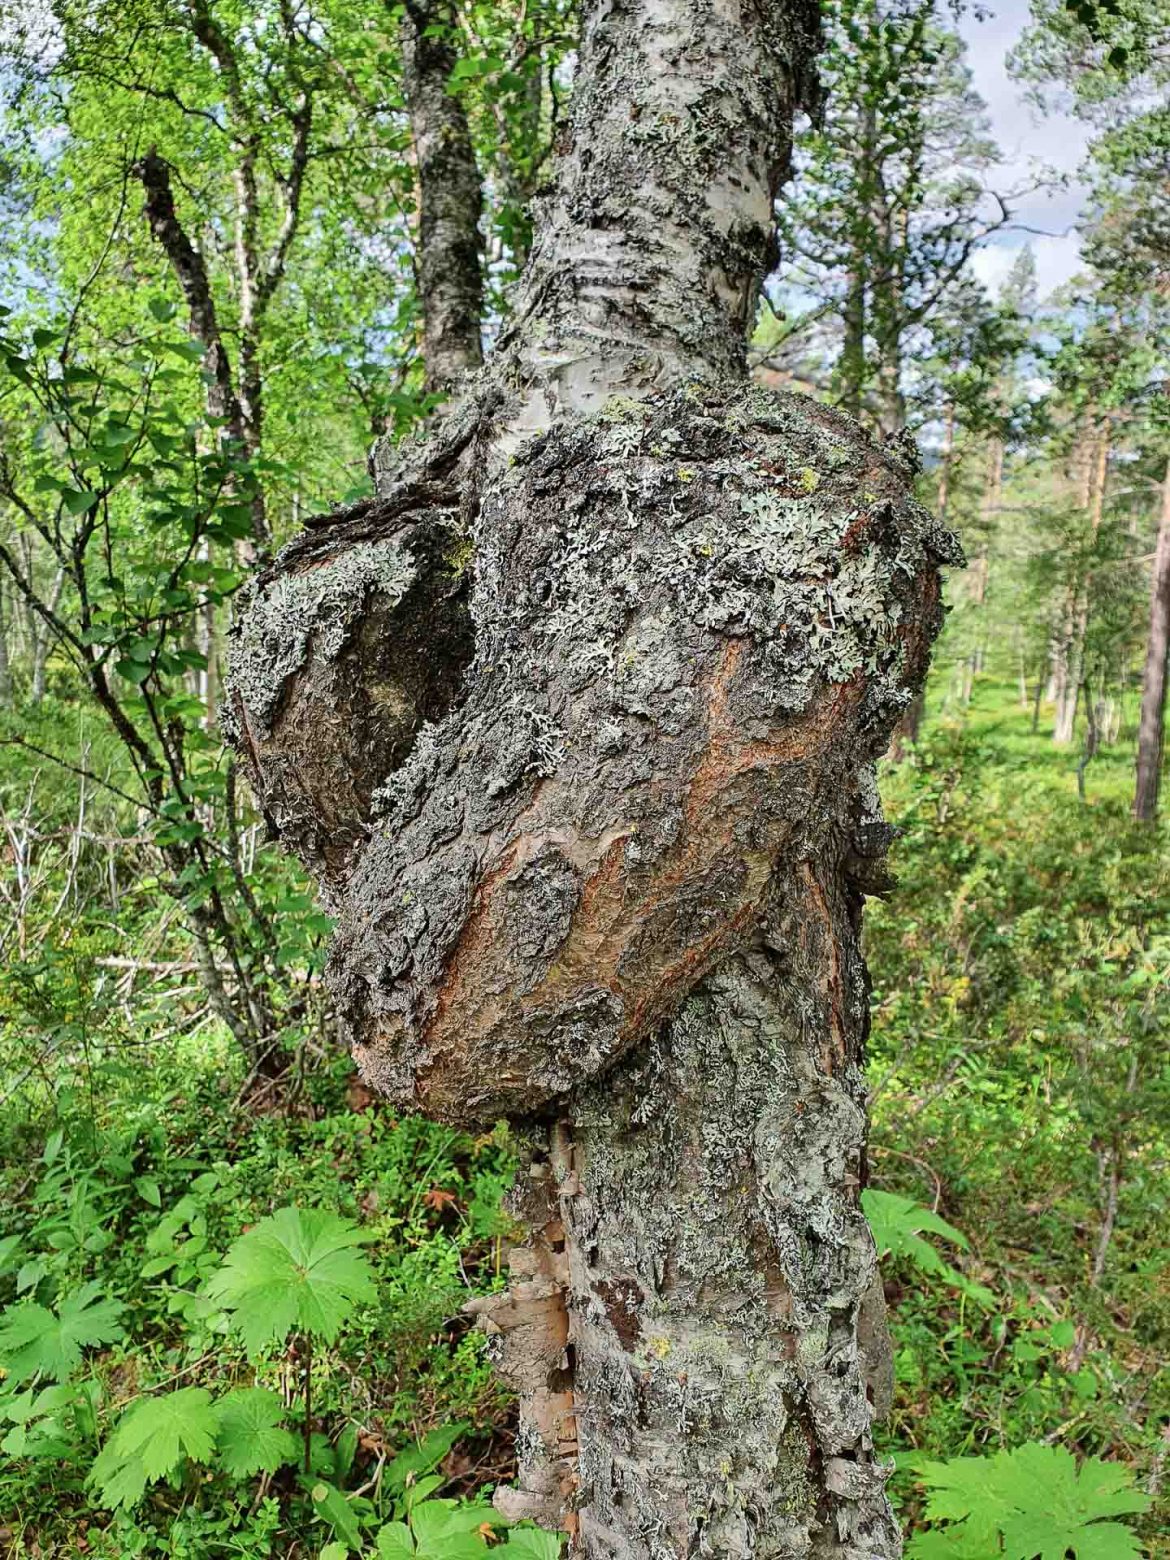
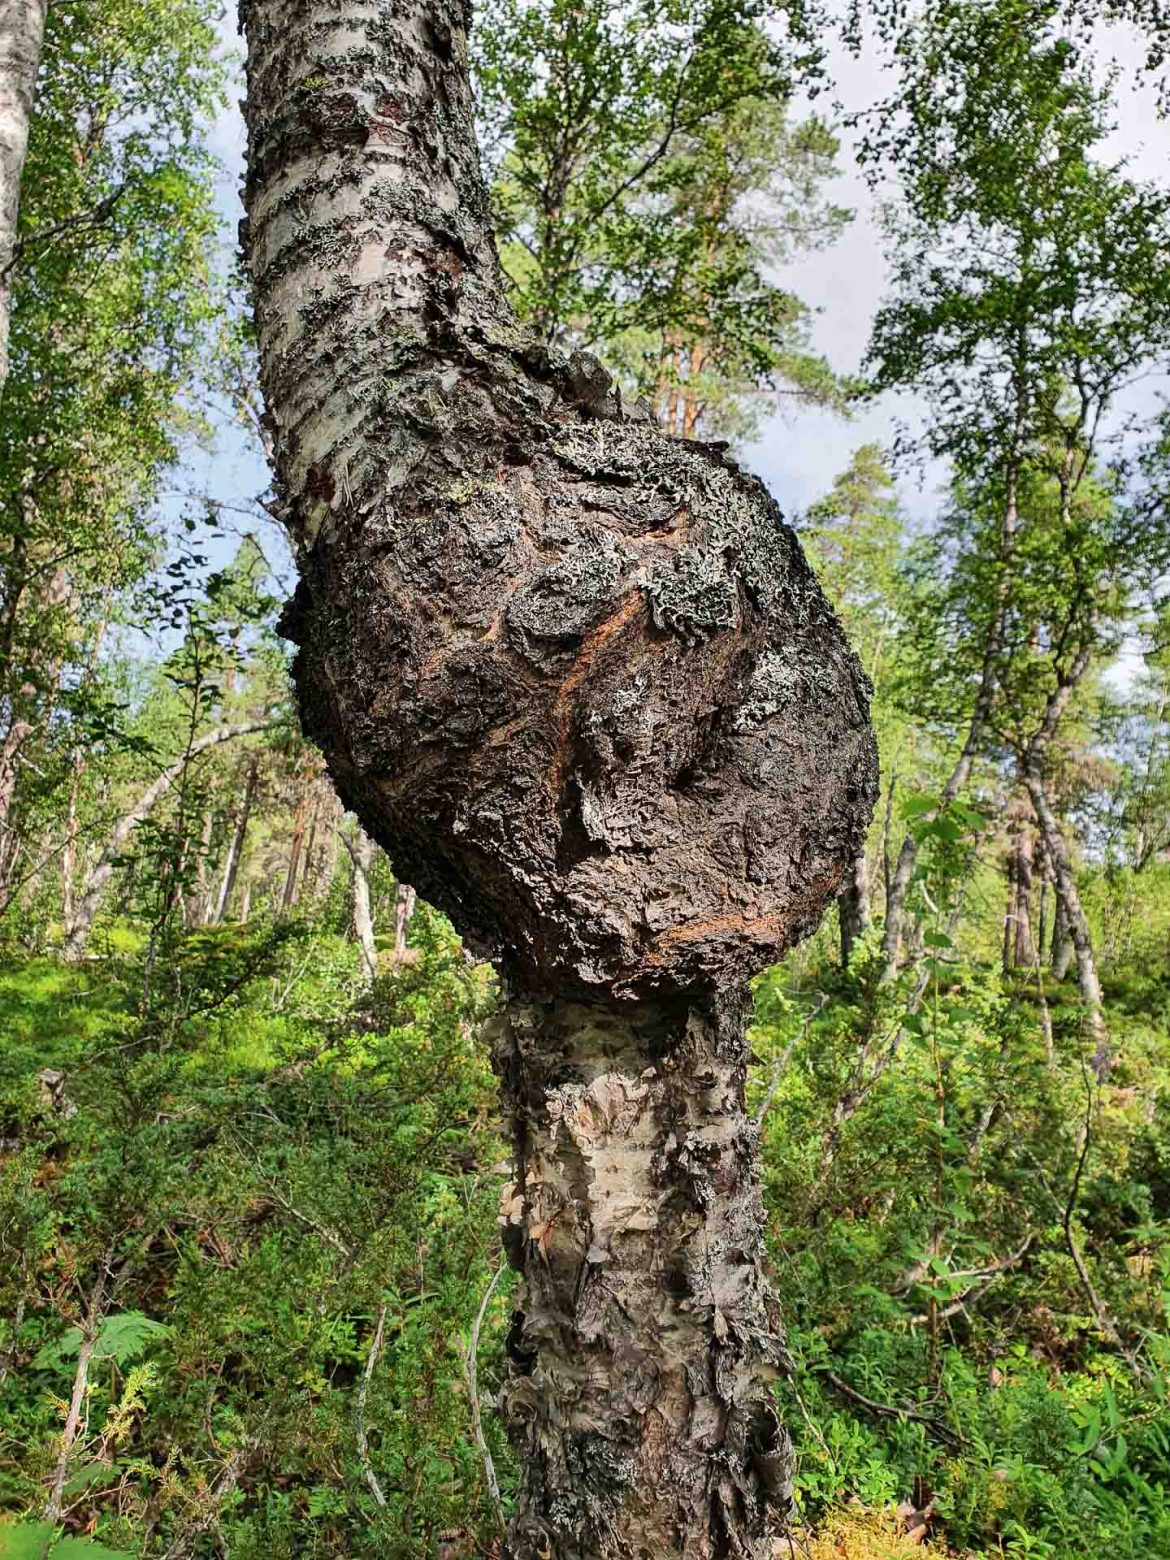
A burl is a tree growth in which the grain has grown in a deformed manner. It is commonly found in the form of a rounded outgrowth on a treetrunk or branch. Due to its wooden structure, burlwood is more durable than the wood from the rest of the tree. Since this is a very special form of wood and hard to come bye, commercial Kuksas throughout Scandinavia are almost always made of birch wood. An original duodji Kuksa will cost you a small fortune by the way (500 € upwards are not uncommon).
Why should I make a Kuksa if I can buy one everywhere?
For non-Northman (or –woman) or even for those living further South, the concept of running around with a wooden cup wherever you go might feel a bit odd. However, people throughout Scandinavia use these drinking vessels probably more than ever nowadays when hiking through the vast northern nature. Bushcrafters all over the world have discovered them as a symbol for their trade and hand-carving your own Kuksa has become a kind of initiation among this tribe.
Kuksas are one of the most iconic symbols for the Northern parts of Scandinavia and Finland. Making your own is a great way to connect yourself a tiny bit to this spirit. Not to mention that sipping your coffee, tee or whatever keeps you going from your own hand carved mug is a unique experience that only you can gift yourself with.
Sounds great, how can I start?
Since you are still around, let’s get to the heart of the matter and let’s sort out what approach suits you best. As already hinted there is actually one approach that would qualify as making ‘the real thing’. However, we think that it is far more important that you produce something you can identify yourself with by using the resources you have and feel comfortable with then sticking to traditional boundaries.
Choose your approach
Are you the bushcraft type, hand carving only while sitting at the campfire and surviving on mushrooms in the wild? Do you have a fancy tool shed with all sorts of equipment at hand that you are willing to commit? Do you want to stick as close as possible to the original idea and design for a Kuksa or do you want to carve mainly your own ideas into you project? The bottom line here is, that it does not matter as long as you choose an approach that suits your needs, interests and is within your capabilities.
That said, we will outline here an approach that uses minimal tools and stays close to the original idea. Feel free to deviate form this approach and adapt to your needs.
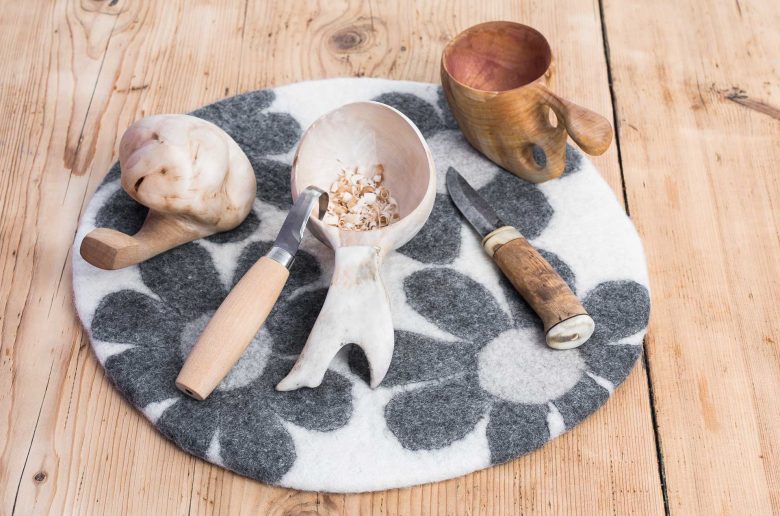
All you need for this is an axe, a saw, a chisel and a carving knife and ideally some sanding paper. Than there would be the peace of wood you are going to work and last but not least time.
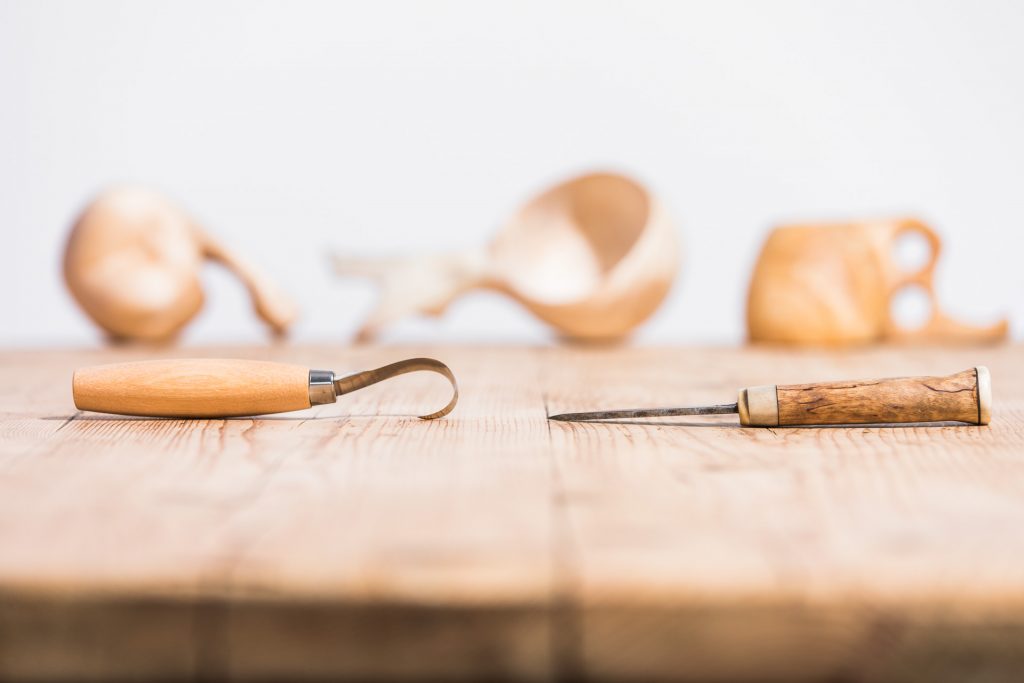
Get your tools
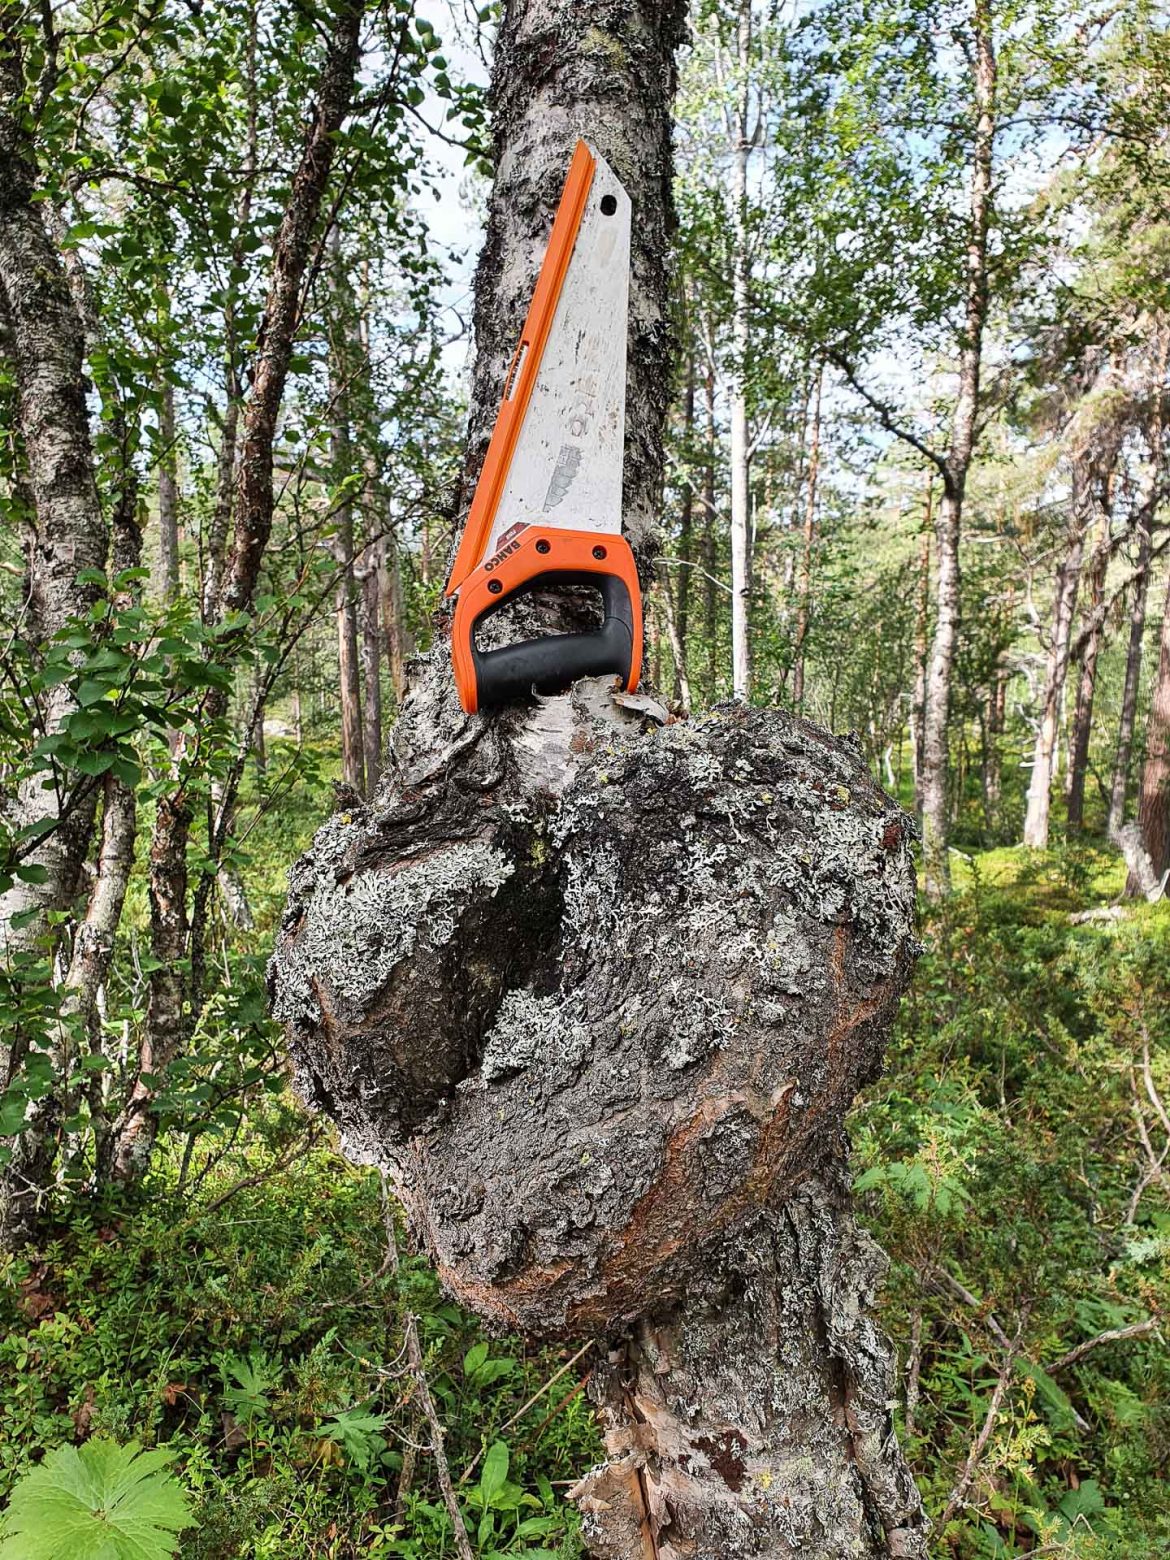
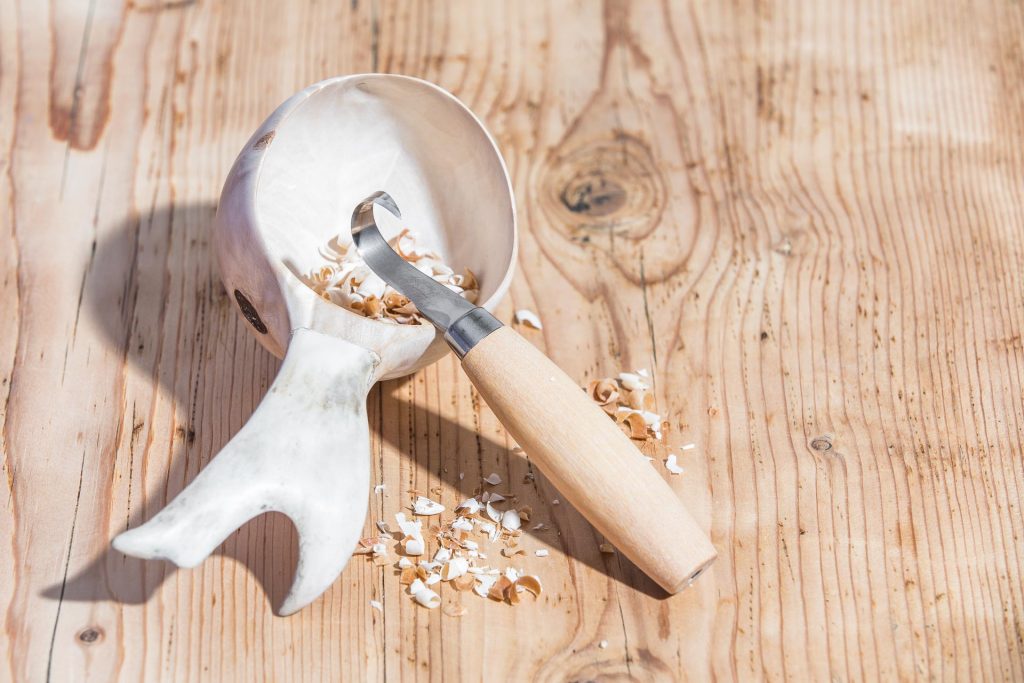
Following a more bushcrafty approach here, we are going to use a small hand axe and a hand saw for the rough work and the basic carving. For the more accurate work you will need a carving knife and at least one chisel with a curved ending or preferably a spoon gouge (around 1 inch or even less). Ideally you’ll get hold on a hooked or crooked knife in addition but for a basic approach it is not necessary. Got it all? Great, so let’s get you the right piece of wood for your needs.
Get your wood
The original Kuksas are always carved from birch burl wood. One main reason is that the wood is more durable due to its inner structure and the natural grown rounded shape. The ideal burl has a curvature similar to the cup you want to make. A well-carved Kuksa from a burl is a tool that should give you company for a lifetime. The downside is that you have to get one in the first hand and that can be a challenge for its own. Personally we think that if you have the (time)resources, finding your own burl is an essential part of the crafting-process.
Be aware though that it is not necessary legal throughout Scandinavia to go into a forest and chop down a tree or even a part of it. So officially you will need the permission of the land-owner before you take such an action. Since this is most of the time not a realistic option you have to decide for yourself to which actions you want to commit and if you life by a strict “leave no traces” policy this approach is probably of limit anyway. If done properly the harvesting of a burl should not damage the tree though. The burl itself is the result of an uncontrolled growth comparable to cancer and an otherwise sound tree should recover. There are several hundred billions of trees throughout Scandinavia. So if you undertake the effort to roam the wild for several days, months or years for your one personal burl you can maybe justify such an invasive action. It still doesn’t mean it is legal!

Use normal wood
Don’t worry you can always take a much easier path to realize your Kuksa project. If you can compromise to take normal birch wood your life will get a lot simpler. Birchwood in general is great for carving since in comparison to spruce or pine it is quite hard and durable but still in the realm to be well carved by hand. All of the high quality Kuksas that are offered commercially in Scandinavia are made of normal birch wood and they are built to last as well. So if you do not have the time and resources for a burl, if you have no interest in the more traditional approach at all or whatever other reason you have – you can continue your project with a simple log of birch and still find great happiness and joy.
In many places throughout Scandinavia, especially in Finland there is a vast amount of open wilderness huts, shelters and public fire sites that have usually an already prepared pile of chopped wood nearby. You can simply start to go there and look for the right piece of wood for your needs without having to think about legalities. If you are not planning to go to Scandinavia at all and live in an other region of the world feel free to work with different types of wood or even get a burl from a different tree. Keep in mind that if you take softer wood e.g. spruce you will have a much easier life in the carving process but sacrifice on durability. If you take hard wood as walnut, olive or cherry you will probably want to reconsider some further tools and equipment in the process.
Green wood is a way easier to carve, especially if you work with a burl and consider working with hand tools only. Keep in mind though that green wood needs a defined drying process or you run a great risk of your product to crack and split. More on this in the Crafting section.
Find your design
Congratulations, you got your personal piece of wood and are basically ready to chop the hell out of it. Well almost. Before you start you should have a pretty good idea of what your final product should look like. To get some inspiration and ideas we would recommend a simple image search in the search engine of your trust. Just look at the pictures to get an idea of what is possible and what suits your taste.
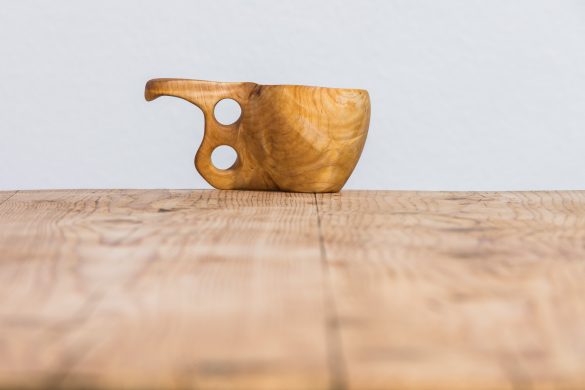
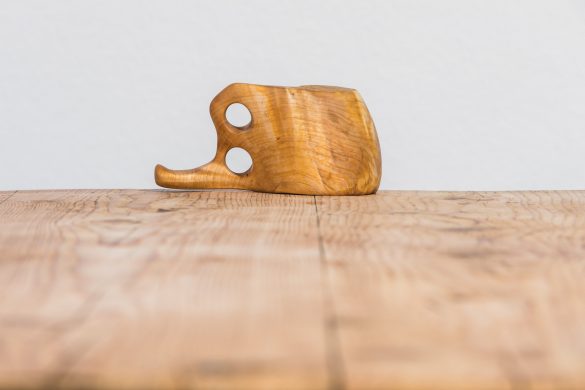
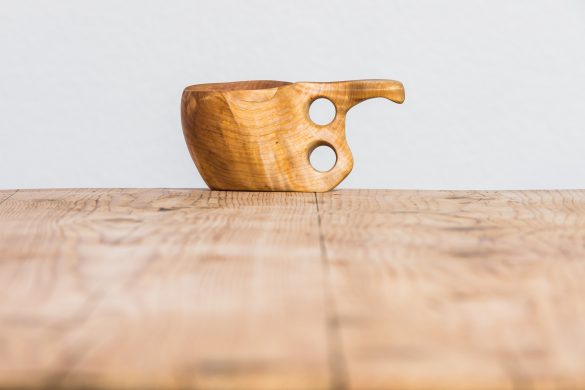
If you want to stick to an original there are some rules to keep in mind and some historical research to do. Most of the shapes available nowadays in the commercial industry are far away from the original ideas. That does not mean that they are bad or aesthetically unpleasant but historically wrong. Commercial Kuksas for example have mostly a perfectly round opening on the top because they are milled by machines that can only carve round spheres. Original Kuksa designs had there widest opening around one quarter from the rim to prevent liquid from spilling. This is best achieved with a crooked knife. Unlike their modern adaptions there are also no historical examples for finger holes, which were supposedly introduced solely for the touristic market in the 1980s. Still, our recommendation is to follow your personal taste on this and don’t bend to historical boundaries if you don not want to.
Got your basic idea of a look? Draw it before starting to carve or at least have a very very good idea of what you want in mind. Especially if you took the effort to get hold on a burl you don’t want to screw up your project by design flaws and unsatisfying shapes. So take your time on this.
Craft
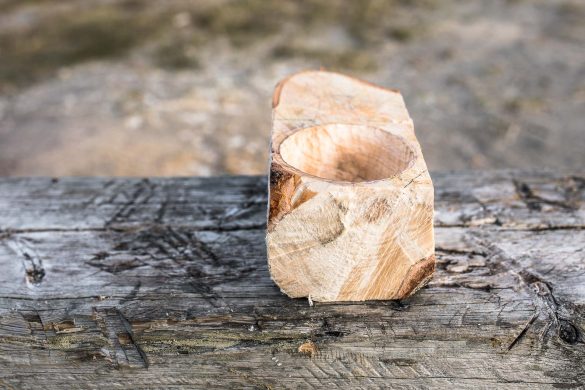
Let’s get to work! In a first step we will rough out our project very rudimentary with a saw to get a handy chunk we can work with. You can start do some rough carving using your axe to define the basic shape of your cup.
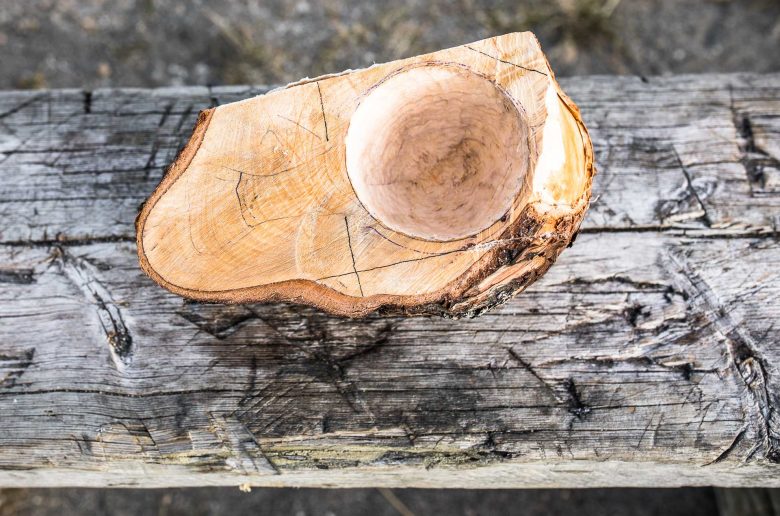
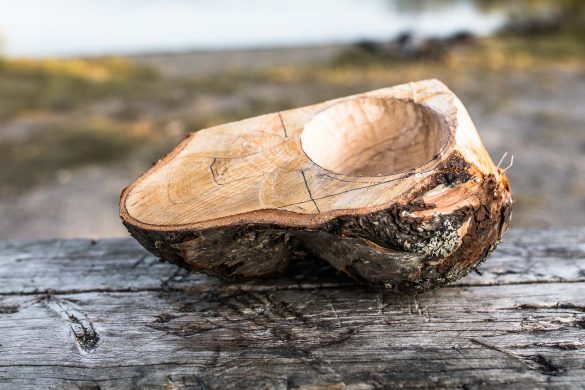
Work with green wood since it is much easier to carve and process. Keep in mind that wood tends to crack in the drying process because in the process the outside dries faster than the inside. Considering this you should start the actual carving process with the inside of your cup to make sure that the wood can dry from inside and outside in the same rate. If you have to leave your project for longer time put it in a plastic bag and close it. If you leave it for several days you have to open and check the bag from time to time to avoid mould.
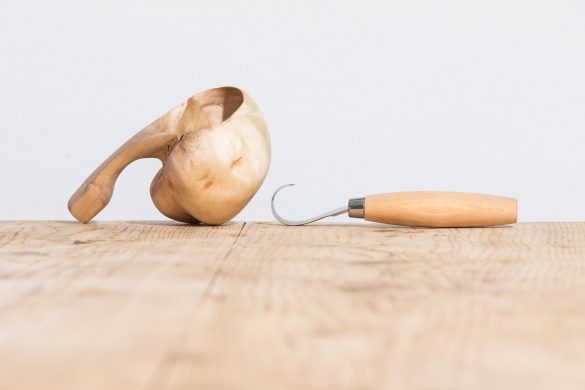
So if you have roughed out the edges of your project follow the outlines (you have drawn some right?) and hollow the cup to your preferred shape, size and depth. If you use only a chisel you might want to be work very careful towards the bottom in order to not destroy the grain too much and ending up with deep furrows. In any case working only with a chisel will mean that you have to do work way harder with the sandpaper afterwards. A crooked knife can do wonders here but it’s one tool more you have to buy and eventually also carry if you are somewhere in the wild. The best compromise here is a spoon-gouge, that as the name suggests is slightly spoon shaped towards the end gives you at least a little bit of curve. The smother your carving job is, the less you have to worry about the sanding process in the end.
If you work with normal birch wood your blog should avoid the centre of the tree by any means since this is the part that is most likely to crack and split. Keep that in mind when looking for your piece of wood and cut your block away from the centre of the tree if possible.
Refine
If you have the basic shape of your cup roughed out start refining it with your carving knife until you arrive at the final shape you want.
Usually, before you can think about sanding you have to dry your project properly. Drying is one of the most delicate parts where a lot of damage can happen that can easily break your project. So take your time and don’t be impatient. There are several strategies to do this. One common recommendation is to boil the Kuksa in water for one hour adding (a lot!) of salt. By doing so the salt dries out the moisture from the wood much faster and evenly afterwards. Alternatively you can put your cup in a paper bag, store it in a dry place (not to warm) and let time work for you. Don’t forget to check from time to time if there is any sign of mould. This process can take several weeks or even months. After you consider your carving finished and your project dry you can start sanding. Usually you start with an 80 grit paper for the rough work and work your way up to finer grit from there. If your project needs extensive sanding and the inner structure of your cup is fuzzy or marked with deep furrows you can even consider using 60 grit paper for a start. Usually most of the sanding work is done with the 80 grit paper until you arrive at your final shape. From there you work your way from 100 over 150, 180, 240, 320, 400, 600, 800 all the way up to 1200. Don’t skip grades if possible, however if you are satisfied already with 400 grit you may stop there. For the grits above 80 you do not need the same effort as for the first stage since it is all about smoothening the surface and not about getting rid of edges and furrows from the carving process.
Finalizing
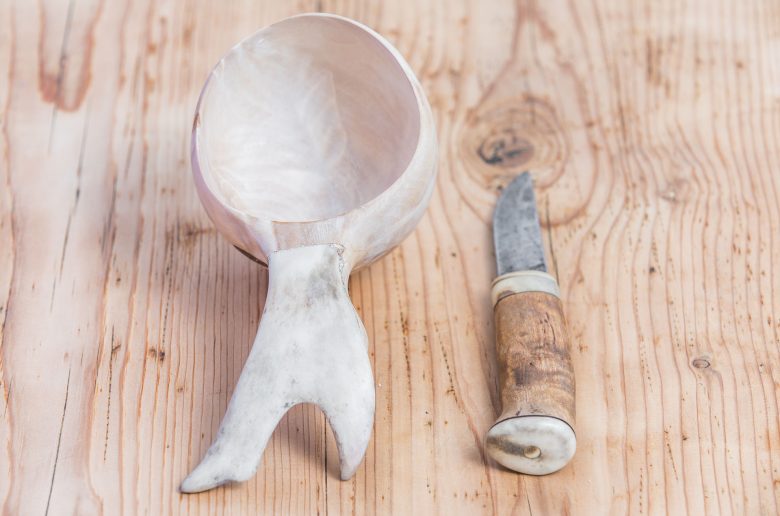
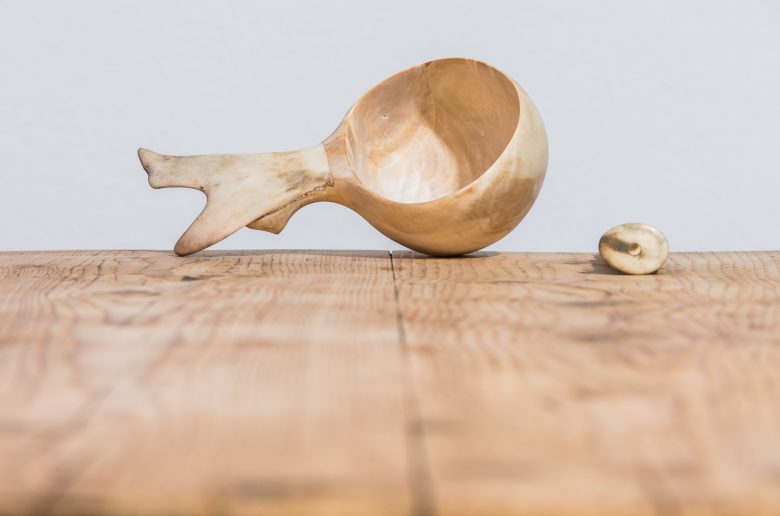
If you came this far – Congratulations! You have carved your very first Kuksa and you have done a marvellous job. You are not quite finished though. There are some final considerations for the last stage. Unlike their modern versions, traditional Kuksas had almost always some sort of engraving in the top of the handle. In the most classic way this is usually a piece of polished reindeer antler inlay with carvings on the surface. Adding such embellishment is up to your taste of course but if you want to stick to an original design and have already used your own burl you might want to go the extra mile and consider this. Be advised though that especially for making an inlay of an antler the basic tool set will probably not suffice here.
Many original Kuksas also had a small hole with an attached cord in the handle. This way the Kuksa could be worn on a belt. Study some original designs feel free to carve or (drill) a hole. You can even produce your own cordage from natural materials if you have or adapt some bushcraft skill
For the finish you have to treat your Kuksa with oil. This adds to the cups durability and makes it easy to clean. You can use all sorts of cooking oil for this but preferably you want to get a neutral taste so try to avoid strong tastes as olive oil. Apply oil until the wood is saturated and then let it dry for at least one day.
Inauguration
You made it! Now it’s definitely time to enjoy the fruits of your hard labour. A Finnish native once told us that the first drink out of your newly born Kuksa is supposed to be a strong spirit. While we are not so sure about the traditional roots of this habit, we definitely can take pleasure in this approach. Máiste!
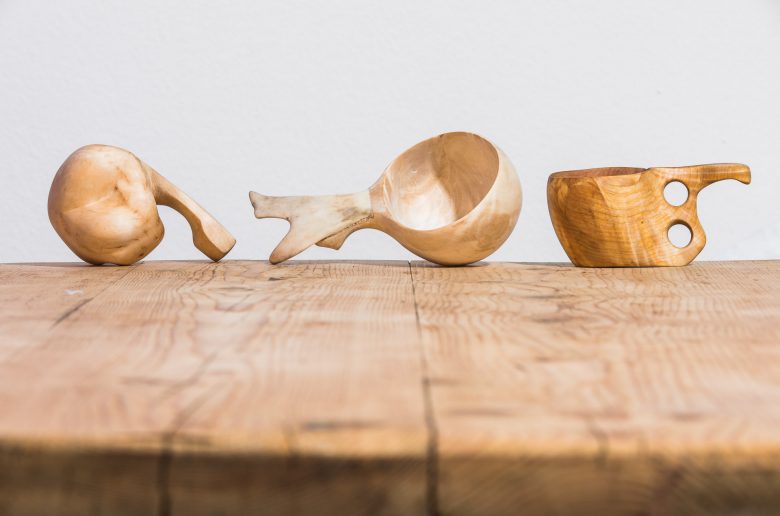
Notes
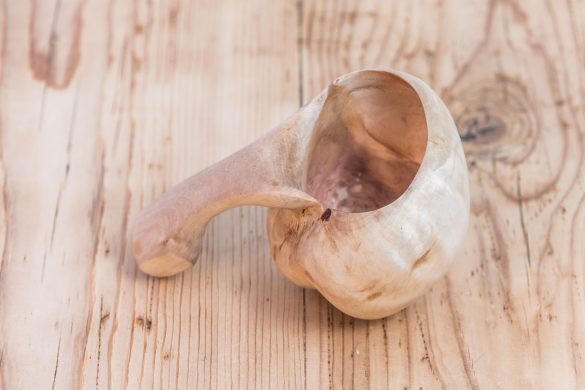
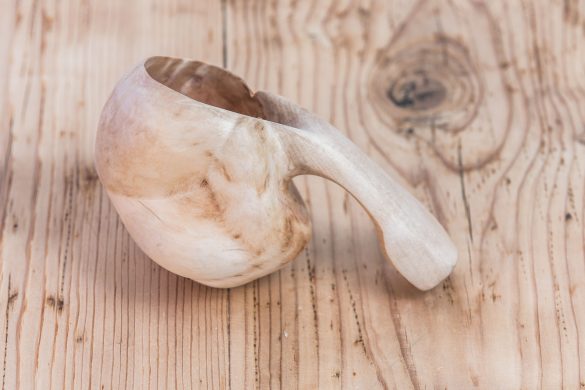
The Kuksas depicted are all hand made basically with a carving knife, an axe, a chisel, a hand saw and sanding paper. The spoon gauge was only used for the Kuksa with the reindeer antler inlay. No excuses, go make your own!
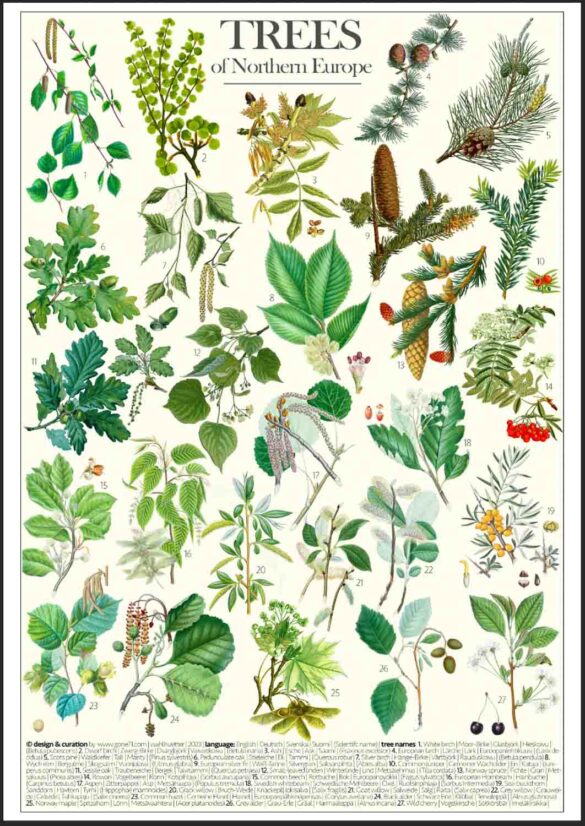
Find more inspiration in some of our other poster designs
↓↓↓